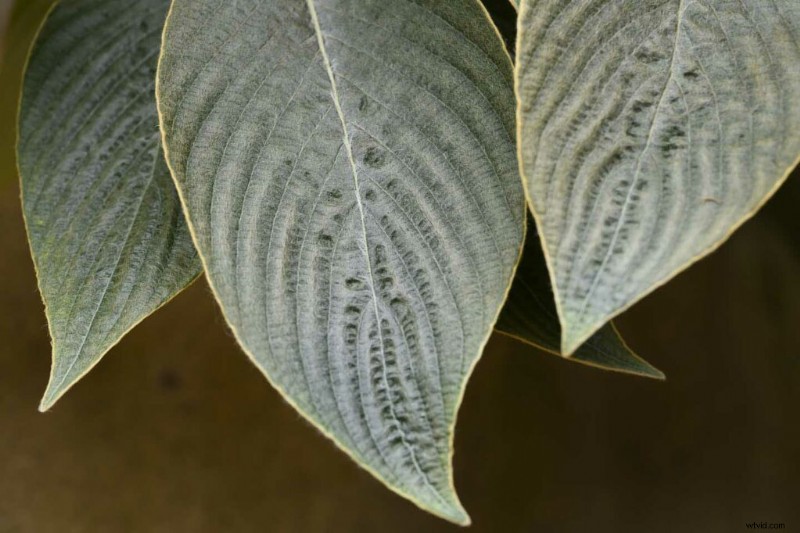
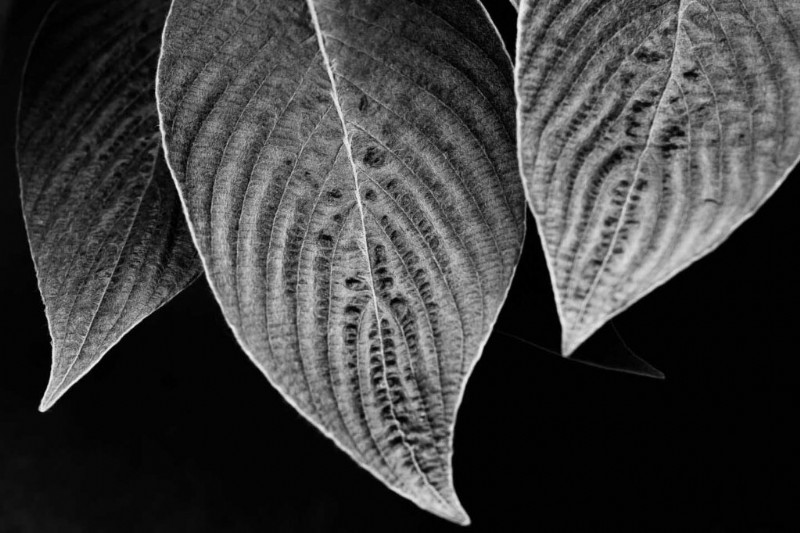
Ustawienia Picture Control firmy Nikon są od wieków stosowane w aparatach cyfrowych, aby nadać Jpegom szczególny wygląd, który pasuje do sceny lub nastroju fotografa. Początkowo lista opcji obejmowała Standardowy, Neutralny, Żywy, Monochromatyczny, Portret i Krajobraz, z dodaną opcją Auto, aby aparat mógł wybrać najodpowiedniejszy wybór, oraz Płaski, który był używany podczas nagrywania wideo. Niedawno dodano kolekcję 20 kreatywnych ustawień Picture Control, które można znaleźć w aparatach takich jak Nikon D780, Nikon Z5, Nikon Z6 II i Nikon Z7 II. Noszą one nazwy takie jak Dream, Morning, Pop, Sunday, Silence i Bleached i wykraczają poza zwykłe drobne poprawki ostrości, nasycenia i kontrastu, aby uzyskać bardziej kreatywne obrazy, które mogą radykalnie różnić się od standardowego wyniku.
Chociaż nadal można do pewnego stopnia edytować obrazy, efekt uzyskiwany za pomocą funkcji Picture Control jest „wypalany” w formacie Jpeg, ale pliki RAW nadal zawierają wszystkie dane dotyczące kolorów. Oprócz stosowania ustawień Picture Control do Jpeg na etapie fotografowania, można je zastosować za pomocą elementów sterujących przetwarzania NEF (RAW) aparatu Nikon w menu retuszu lub za pomocą elementów sterujących w programach Adobe Lightroom Classic i Adobe Camera Raw.
Oczywiście nie wszystkim spodobają się wszystkie efekty tworzone przez kreatywne ustawienia Picture Control firmy Nikon i nie działają one w każdej scenie, ale mogą być świetnym sposobem na poprawienie trybu sceny lub stworzenie interesującego zdjęcia w mniej niż idealnych warunkach . Oto jak to się robi.

Jak korzystać z funkcji Picture Control firmy Nikon w aparacie na etapie fotografowania
01 Nagrywaj w formacie raw i Jpeg
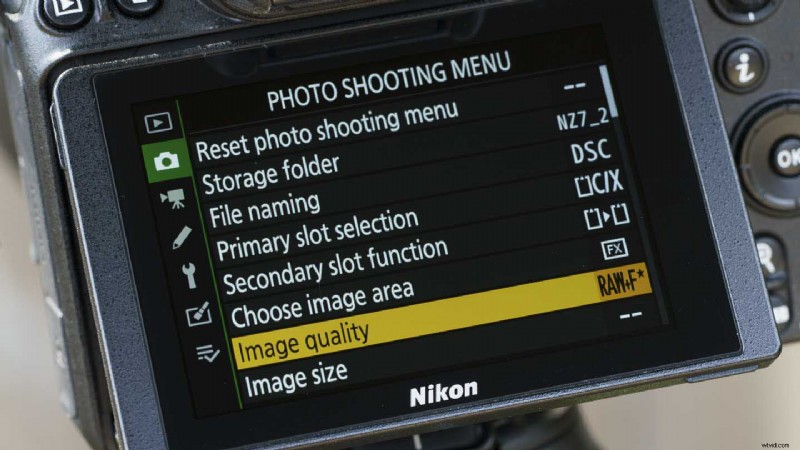
Ponieważ efekt ustawień Picture Control jest zapisywany w plikach Jpeg, dobrym pomysłem jest jednoczesne nagrywanie plików RAW i Jpeg, ponieważ zapewnia to większą elastyczność w zmianie wyglądu zdjęć.
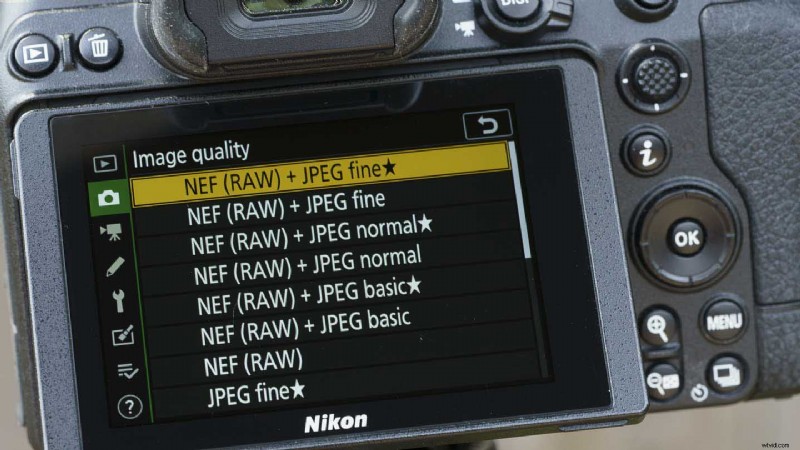
Naciśnij przycisk menu i przejdź do opcji „Jakość obrazu” w menu fotografowania. Następnie naciśnij przycisk „OK” lub dotknij „Jakość obrazu” w menu, aby wyświetlić opcje. Aby uzyskać najlepszą możliwą jakość, wybierz „NEF (RAW) + JPEG fine” i ponownie naciśnij przycisk „OK”.
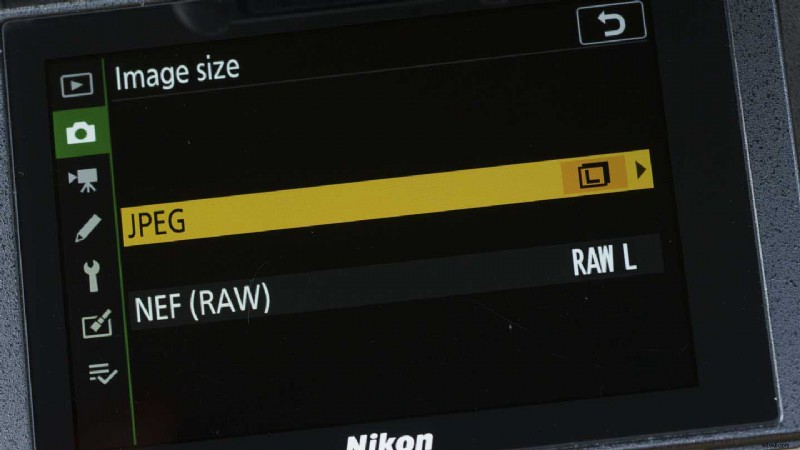
Następnie wybierz „Rozmiar obrazu” poniżej „Jakość obrazu” w menu i upewnij się, że zarówno pliki Jpeg, jak i RAW zostały ustawione na nagrywanie w dużym (L) rozmiarze.
02 Wybierz ustawienie Picture Control
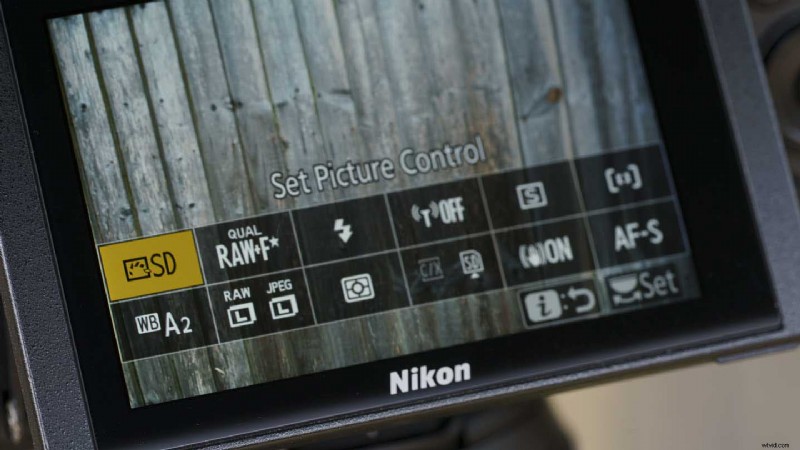
Domyślnie do ustawień Picture Control można uzyskać dostęp za pośrednictwem menu „i”, które jest dostępne po naciśnięciu przycisku „i” w aparatach Nikon, ale jeśli dostosujesz to menu i usuniesz tę opcję, znajdziesz je w menu głównym .
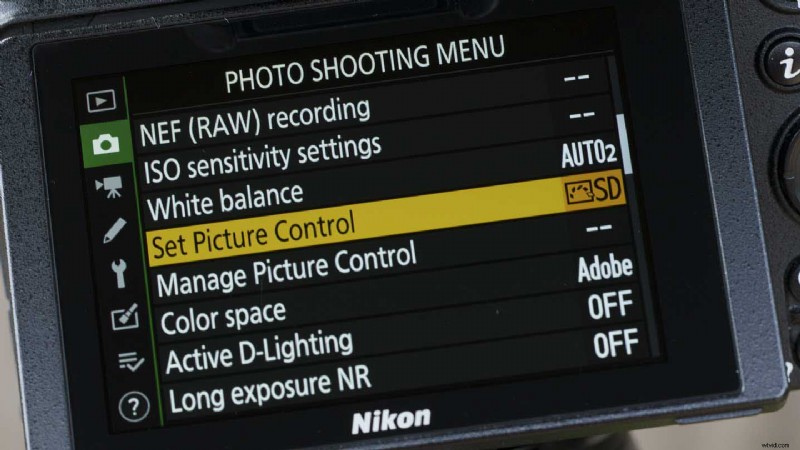
Po prostu znajdź opcję „Ustaw przetwarzanie obrazu” w dowolnym menu i naciśnij przycisk „OK” lub dotknij go na ekranie. Następnie przewiń opcje, aż znajdziesz tę, której chcesz użyć (lub wypróbować). 08 Bleached jest moim ulubionym.
03 Dostosuj ustawienia
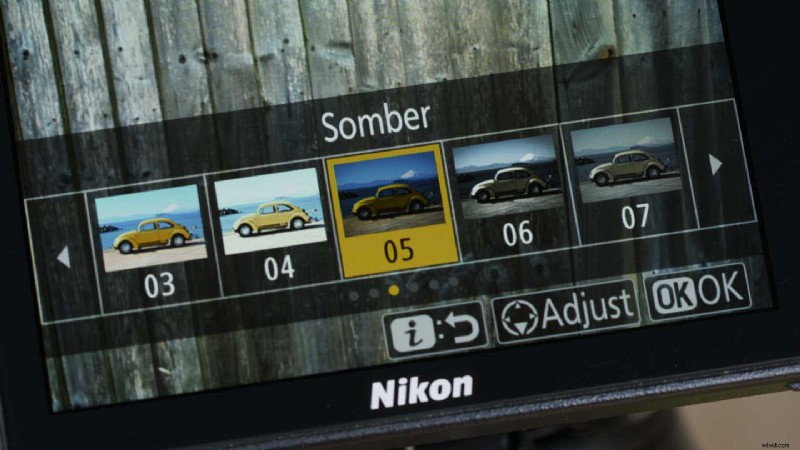
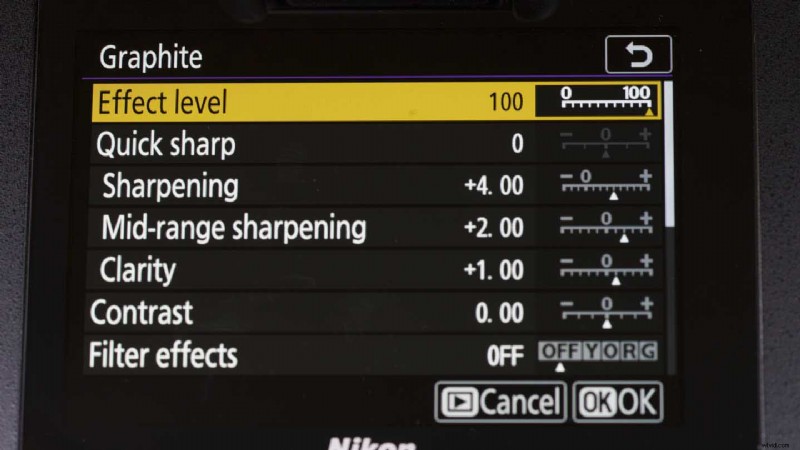
Możesz używać dowolnych kreatywnych ustawień Picture Control w ich domyślnych ustawieniach, ale podobnie jak w przypadku innych ustawień Picture Control możesz dostosować ich ustawienia. Aby to zrobić, przejdź do ustawienia Przetwarzania obrazu w taki sam sposób, jak w kroku 2, a po podświetleniu Przetwarzania obrazu, którego chcesz użyć, naciśnij klawisz nawigacyjny w dół na aparacie.
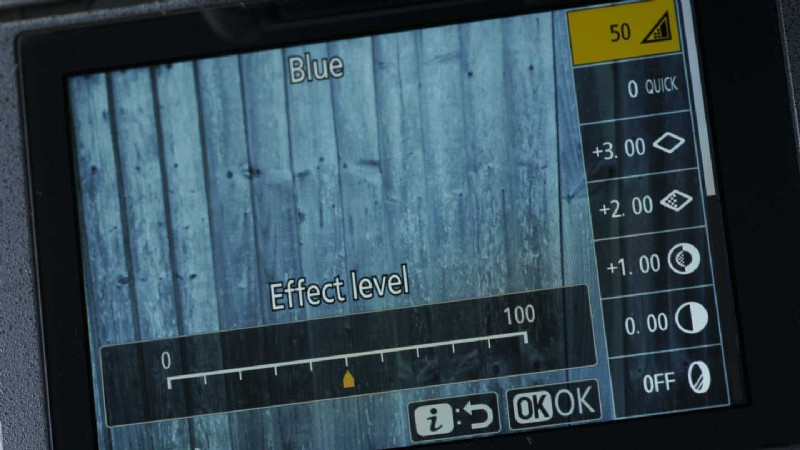
Spowoduje to wyświetlenie listy parametrów do dostosowania, w tym możliwości zmniejszenia poziomu zastosowanego efektu.
Wybierz parametr, który chcesz wyregulować za pomocą elementów sterujących w górę/w dół lub dotknij ekranu, a następnie użyj przycisków w lewo/w prawo lub dotknij skali na ekranie, aby dostosować wartość. Gdy będziesz zadowolony, naciśnij przycisk „OK”.
04 Strzelaj
Jeśli masz aparat bezlusterkowy firmy Nikon, zobaczysz wpływ wybranego ustawienia Picture Control w wizjerze i na ekranie. Jeśli używasz lustrzanki cyfrowej, musisz przełączyć się do trybu podglądu na żywo, aby zobaczyć scenę z zastosowanym ustawieniem Picture Control.
Stosowanie Picture Control po zrobieniu zdjęcia w aparacie
01 Znajdź menu retuszu
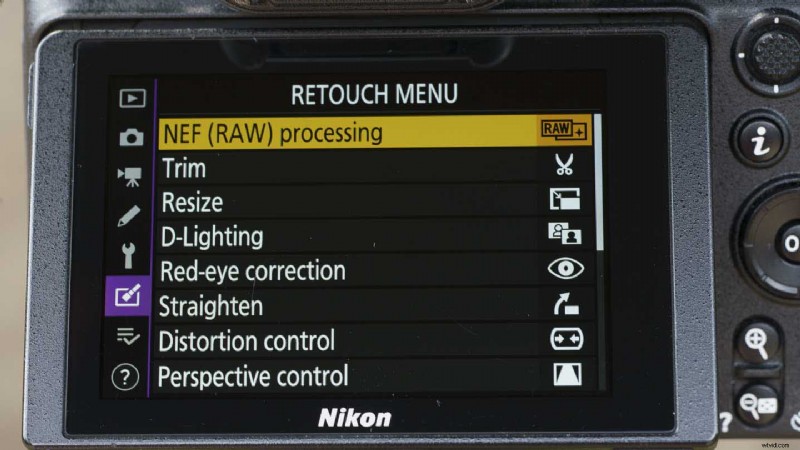

Po zakończeniu fotografowania naciśnij przycisk „Menu” i przewiń do ikony „Menu retuszu” lub dotknij jej. Locate and select ‘NEF (RAW) processing’ at the top of the screen. Then tap on ‘Select image(s)’ or selected it in the menu and press ‘OK’.
02 Select the image(s)
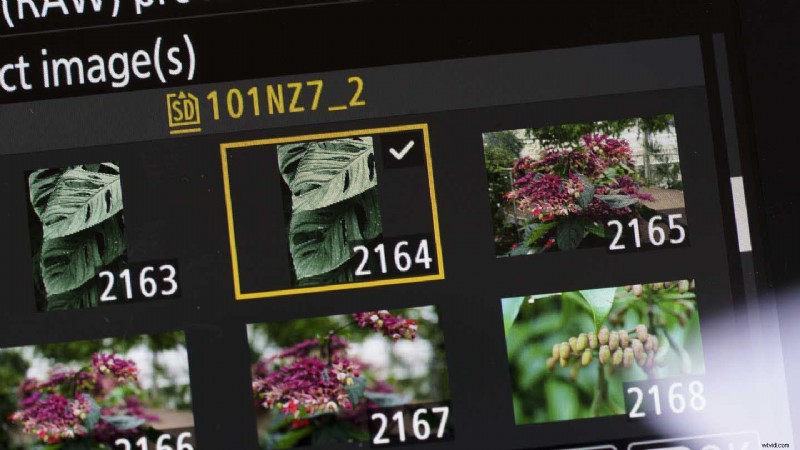
Browse through the images and use the zoom out button to add a tick to the thumbnail(s) of the one(s) you want to edit. Alternatively, tap once on the image to select it and tap again to add the tick.
Once you’ve selected the image(s) you want to edit, press the ‘OK’ button.
03 Make the edits
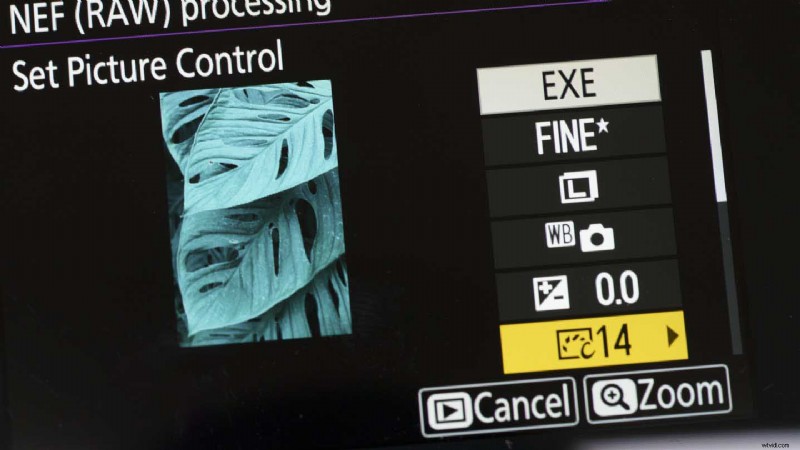
You’ll now see a screen with one of the images and a short list of the parameters available for adjustment. The Picture Control is at the bottom of the first page of the list. Tap on it or use the right navigation key to see a list of all the available Picture Controls.
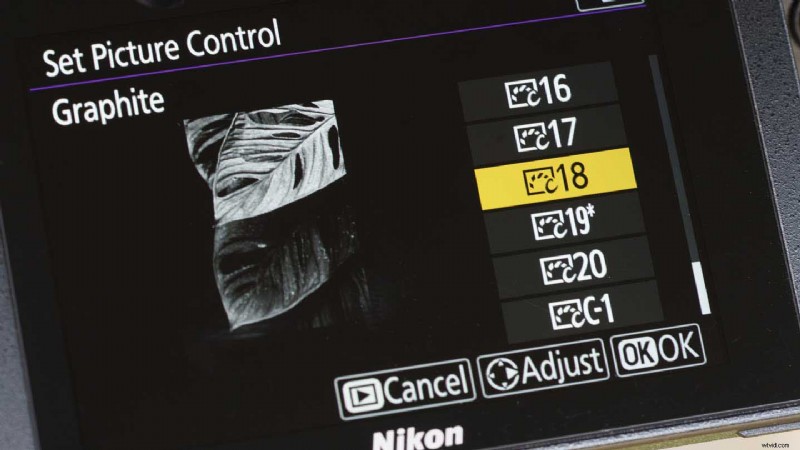
As you tap on any of the alternative Picture Controls, or navigate up and down using the navigation controls, you’ll see the image change as the new effect is applied. When you’ve find the one you want, you can either press ‘OK’ to apply it or you can press the right navigation button to access the same adjustment controls that are available for tailoring the image when using the Picture Controls at the shooting stage.
Make any edits that you want before pressing ‘OK’ and then scrolling up to ‘EXE’ to save the image as a Jpeg.
Using Nikon Picture Controls with raw files
Adobe Lightroom Classic and Adobe Camera Raw, which is the raw file editor supplied with Adobe Photoshop, both have the profiles to replicate the impact of using Nikon’s Picture Controls with Nikon camera raw files at the processing stage. It’s really easy to apply them in either software package and you can use them in combination with all the usual editing controls. Here’s how it’s done:
01 Open the image
If you’re using Adobe Lightroom you first need to import the images to the software, but if you’re using Adobe Photoshop you just need to locate the file(s) you want to work on and then open it/them. Photoshop automatically opens Adobe Camera Raw when you attempt to open a compatible raw file.
02 Select the profile in Adobe Camera Raw
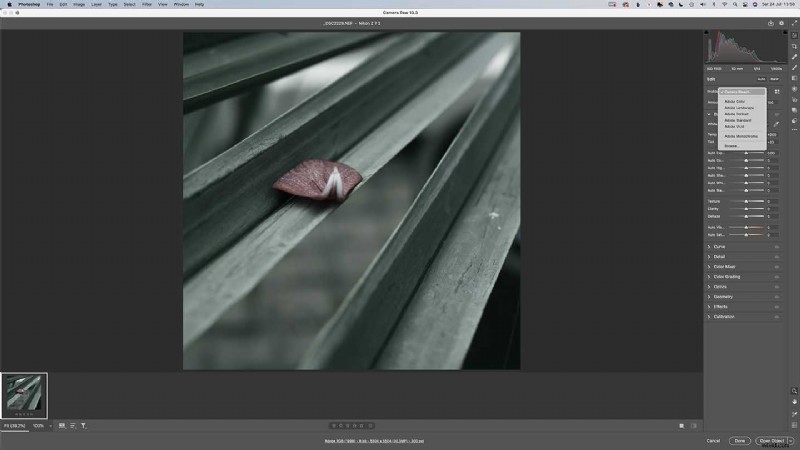
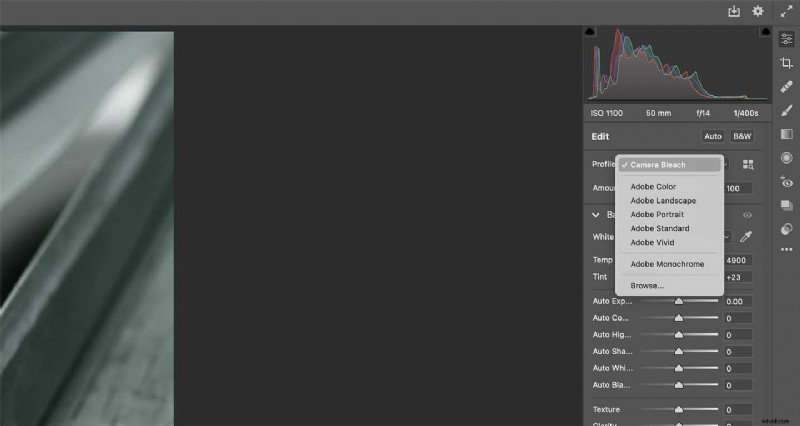
With the image open in Adobe Camera Raw, select the ‘Edit’ icon at the top of the adjustment icons and then find ‘Profile’ near the top of the adjustment panel, it’s immediately under ‘Edit’. It will show ‘Camera’ and the name of the Picture Control that you used originally.
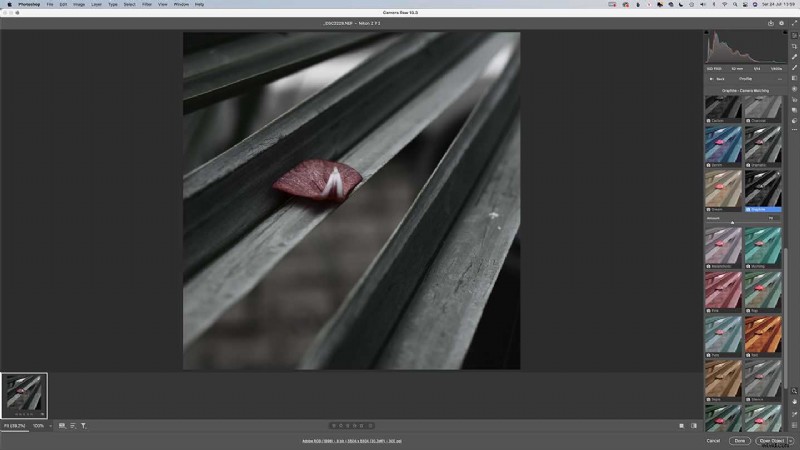
Click on the dropdown arrow to the right of the profile name to reveal the options available. You’ll see a short list of Adobe options followed by ‘Browse’. Click on ‘Browse’ and, if necessary, ‘Camera Matching’. This will reveal thumbnails of all the Picture Controls available. Just scroll until you find the one you want – the main image on the screen while change to show a preview if you hover over any of the thumbnails.
Once you’ve selected the Picture Control you want, you’ll see a sliding control to let you reduce the degree of the effect. After setting the level you want, click on ‘Back’ near the top of the panel to get access to all the usual Adobe Camera Raw Controls and process your image as normal.
Or
02 Select the profile in Lightroom CC
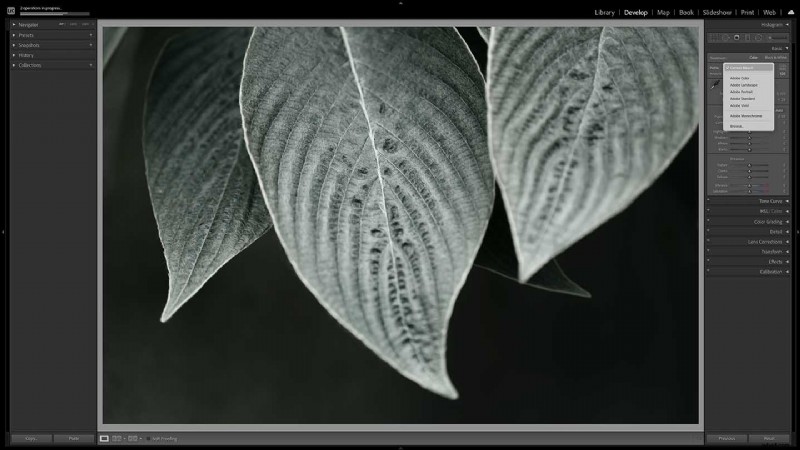
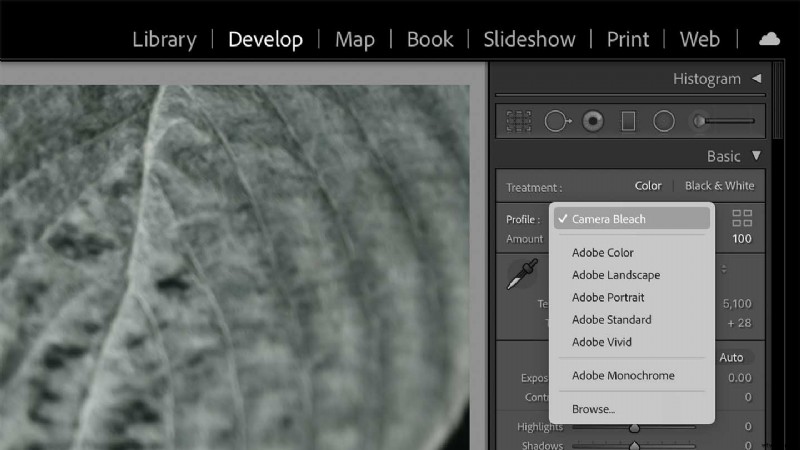

With your images imported into Lightroom CC, select the one you want to edit and click on ‘Develop’. Make sure that the Basic adjustment panel is open and click on the profile dropdown arrow. This is to the right of where it says ‘Profile’ followed by ‘Camera’ and the name of the Picture Control that was used at the shooting stage.
Click on ‘Browse’ beneath the Adobe options, and if necessary expand the ‘Camera Matching’ section to see the available Picture Control settings. As you hover over the thumbnails for each Picture Control settings, the main image will preview the effect. Simply click on the one you want to use. You can then use the control at the top of the panel to reduce the level of the effect. When you’re finished, click on ‘Close’ to return to the usual Lightroom editing panel and finsih your image as normal.