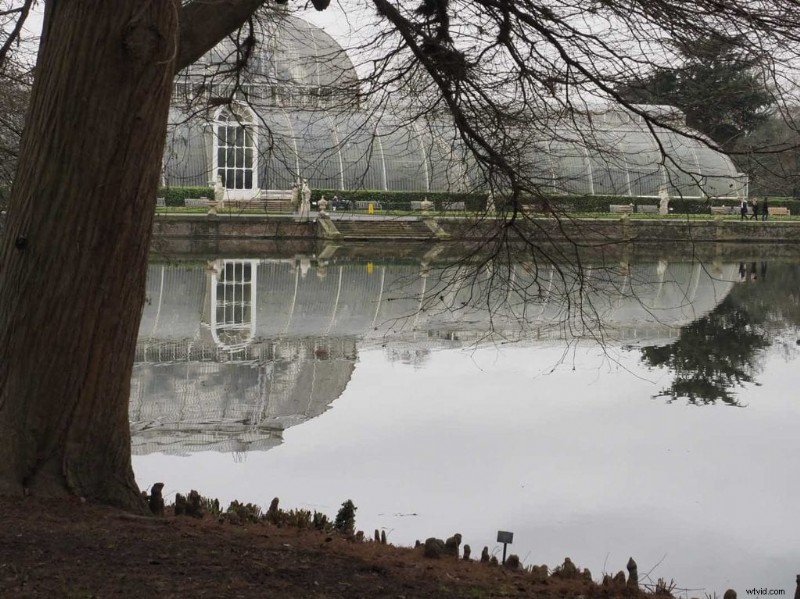
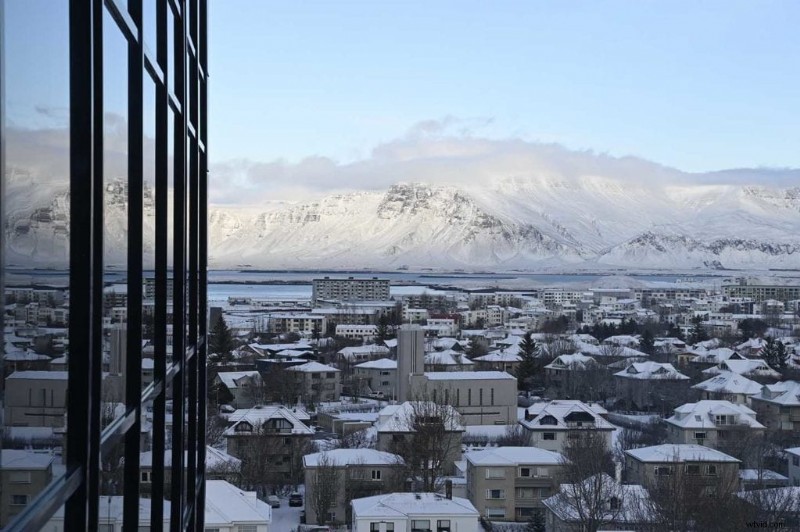
W tym samouczku pokażemy, jak sfotografować odbicie i zobaczyć świat w nowy sposób za pomocą aparatu!
Bardzo łatwo można wpaść w rutynę fotografowania tych samych obiektów w kółko, szczególnie podczas fotografowania miasta, w którym mieszkasz. Nawet na wakacjach fotografowanie punktów orientacyjnych i słynnych miejskich panoram może zacząć wyglądać tak samo.
W takich sytuacjach profesjonalni fotografowie próbują spojrzeć na lokalizacje inaczej. Wyszukują kompozycje i kąty, których wiele osób mogło wcześniej nie widzieć, a jedną ze sztuczek, których używają, jest czasami fotografowanie punktów orientacyjnych w odbiciach.
To może być Wieża Eiffla w paryskiej kałuży. Mogłaby to być góra błyszcząca w nieruchomym jeziorze. Nauczenie się, jak fotografować odbicia, może być też fajnym sposobem na robienie portretów w plenerze.
Poniżej pokażemy, jak sfotografować odbicie, najpierw wiedząc, gdzie patrzeć, a następnie konfigurując aparat.
Najlepsze ustawienia aparatu do fotografowania odbicia
01 Ustaw małą przysłonę
Zwykle podczas fotografowania odbicia potrzebujesz przyzwoitej głębi ostrości, aby wszystko było ostre i ostre. W tym celu ustawiłbym przysłonę w okolicach f/11 do f/16.
02 Ustaw czas otwarcia migawki
Istnieją dwie szkoły myślenia o czasie otwarcia migawki, jeśli chodzi o fotografowanie odbicia. Użycie krótkiego czasu otwarcia migawki gwarantuje, że nie uchwycisz żadnego ruchu, który mógłby zepsuć odbicie. Może to być łódź dryfująca w twoim odbiciu na drzewie lub przechodnie zasłaniający okno.
Z drugiej strony, gdy warunki są odpowiednie, dłuższy czas otwarcia migawki sprawi, że Twoje odbicie będzie jeszcze bardziej dramatyczne. Dłuższa ekspozycja nasyci odbicie, czyniąc je bardziej imponującym. Spłaszczy również zmarszczki na wodzie i wygładzi wszystko.
03 Ustaw czułość ISO
Jeśli wybrałeś krótszy czas otwarcia migawki w kroku 2, prawdopodobnie tutaj będziesz chciał zwiększyć swoją wartość ISO. Wyższa czułość pozwoli na pracę z krótszymi czasami otwarcia migawki; należy jednak pamiętać, że im wyższa skala, tym więcej szumów wprowadza się do obrazów. Zwykle trzymam się maksymalnie ISO 6400.
Jeśli pracujesz z dłuższymi czasami ekspozycji i używasz statywu, warto ustawić najniższą możliwą wartość ISO, aby zdjęcia były wolne od szumów.
04 Naświetl od wewnątrz odbicia
Dobrą zasadą jest ustawienie ekspozycji od punktu w obrębie odbicia. Ale jeśli w odbiciu występuje zakres tonów, naświetl od półcieni.
To, czego nie chcesz robić, to wysadzać niektóre części sceny. Dlatego krok 5 jest bardzo przydatny…
05 Użyj filtra ND
ND ogranicza światło wpadające przez obiektyw, umożliwiając fotografowanie przy dłuższych czasach otwarcia migawki w jaśniejszych warunkach. Możesz na przykład użyć filtra ND w ciągu dnia, aby uzyskać dłuższy czas otwarcia migawki w celu wygładzenia wody.
Przydatny jest również stopniowany filtr o neutralnej gęstości lub grad ND. Gradacje ND są ciemne na jednej połowie filtra, ale wyraźne na drugiej. This means you could shoot a longer exposure of a reflection in water, but place the dark side of the ND grad at the top of your lens to prevent overexposing the sky.
- The best ND filters you can buy today
06 Shoot at the golden hours
If you photograph reflections at the golden hours they will look all the more impressive because sun is at a low angle in the sky, producing more dramatic light.
With jobs and family responsibilities, though, it’s not always possible to shoot at these times. In which case, just try to avoid mid-day if you can. In the middle of the day the sun is directly overhead and will wash out your reflections, leaving them less impressive.
07 Set a Daylight white balance
Whether you’re shooting city lights at twilight or reflections in a pond in bright daylight, set your camera’s white balance to its Daylight pre-set to deepen the colour of that blue sky and warm up those city lights.
08 Use exposure compensation
If you’re shooting a reflection under city lights, don’t forget to dial in a little underexposure to reproduce the dark conditions!
If you’re taking your photo during the day you may find that the bright reflections on the water trick your camera into underexposing.
In some cases this may not be a bad thing, as a little underexposure can help deepen the saturation of your colours. But keep an eye on the situation and increase the exposure compensation if necessary.
- How to photograph the moon
What gear you need to photograph a reflection
I find a telephoto lens to be the best optic for photographing a reflection because its different focal lengths allow you to capture wider views and finer detail, as well as cropping in on distant subjects such as reflections high up a tall building.
That said, a shorter, fast lens can also be useful if you’re shooting in the city at dusk and don’t have a tripod, yet want to avoid your high ISO settings.
If you’re shooting lakes or pods, a tripod can come in handy. Shooting a long exposure can smooth out any ripples. A neutral density filter can also do this if you’re shooting in strong light.

How to photograph a reflection in water
Rivers, lakes and ponds are the obvious places to look for reflections when you’re out in nature, and for the best results you should visit early in the morning. This is because the water surface tends to be stiller in the morning than later in the day.
But remember what we said at the beginning about trying to see subjects in new ways? Our natural inclination when photographing a reflection is to capture a perfect copy of the subject, but sometimes a distorted shape or imperfections can make a reflection more interesting.
For this reason it can also be worth your while to visit a lake or pond in the afternoon or early evening. Even just a few ripples can give your reflection an abstract look and feel.
And puddles and even wet pavements can work just as well! In fact, I find these even more interesting because their urban setting allows you to include other environmental markers and even people within the frame.
Another great thing when you photograph a reflection in puddles is that as you move around it and seek new angles different landmarks and backgrounds are included in the frame. In theory, you can take a variety of different photos from the same reflection as you play with juxtaposition.
- How to photograph a sunset (and the gear you need to do it)

How to photograph a reflection in the city
As well as puddles and wet pavements, all the shiny surfaces and glass shopfronts in city centres can make excellent canvases for photographing a reflection. What’s more, if you wait until twilight, that’s when many of a city’s colours come to life, offering much more striking reflections.
Photographing a reflection in glass can be really tricky, though – more so than shooting water.
For starters, you really need to get your composition just right to avoid including yourself in the frame. And you need to think about the subject being reflected as well as what it is reflected on.
Before you press the shutter release, take a look around the frame. Scan the edges and make sure you haven’t included anything you don’t want to appear in your final image. It’s easier to correct these mistakes at the shooting stage.
Sometimes if I’m shooting street photography I will find a nice reflective surface like a glass window, then frame my image how I want it and get my camera settings dialled in. Then I just wait for someone to come along. And as they past through my focal point, I press the shutter.
